Last updated on June 5, 2020
As of Windows 10 May 2019 Update, the Window’s operating system now comes with a sandbox feature natively. In computing, a sandbox is an isolated environment to conduct several different tasks that are not tied to the host operating system for protection.
Malware researchers need these environments to analyze how different types of malicious code works, to learn how to identify them and ultimately add to a database of known malware. With a sandbox mechanism these researchers could potentially infect themselves or others on their network. With Windows Sandbox, even regular users can test specific unknown files in the sandbox to see if they are a threat to their system.
How does it work?
Windows Sandbox is a lightweight virtual machine sandbox. Each time you start it up, it uses the Windows 10 system on the host to create a new image. It uses a “dynamic base image”. The image allows the copies of its files to change but does not let the links to the original system files modify the host. The benefit of using this container is the dynamic base package only occupies 100MB of disk space.
The sandbox also uses Microsoft’s new technology, “integrated scheduler”. By employing a new scheduling policy it allows the virtual processors of the sandbox to be enlisted as processes. Because of this, it allows Windows to manage the sandbox as a process instead of a traditional virtual machine for more security. For quick booting of the application it uses “snapshot” and “clone” technology.
Microsoft also uses graphics hardware acceleration to create a decent user experience in the graphical user interface. Since the sandbox needs to be isolated from the host’s graphics card, virtualization plays a role to bridge a gap through Microsoft RemoteFX.
Continue on to learn how to enable the feature and test it with a malware repository.
Installing the sandbox
Enabling the Window Sandbox feature is straight forward. Here are the requirements.
- Windows 10 Pro or Enterprise (Build 18305 or later)
- AMD64 CPU Architecture
- BIOS Virtualization Enabled
- At least 4GB of RAM
Enabling takes one command in an elevated Powershell session. Enable the feature by opening Powershell as administrator and firing off the following command.
You will need to reboot after.
Enable-WindowsOptionalFeature –FeatureName "Containers-DisposableClientVM" -All -OnlineAfter reboot, hit the search button and type “Windows Sandbox” and click the icon.

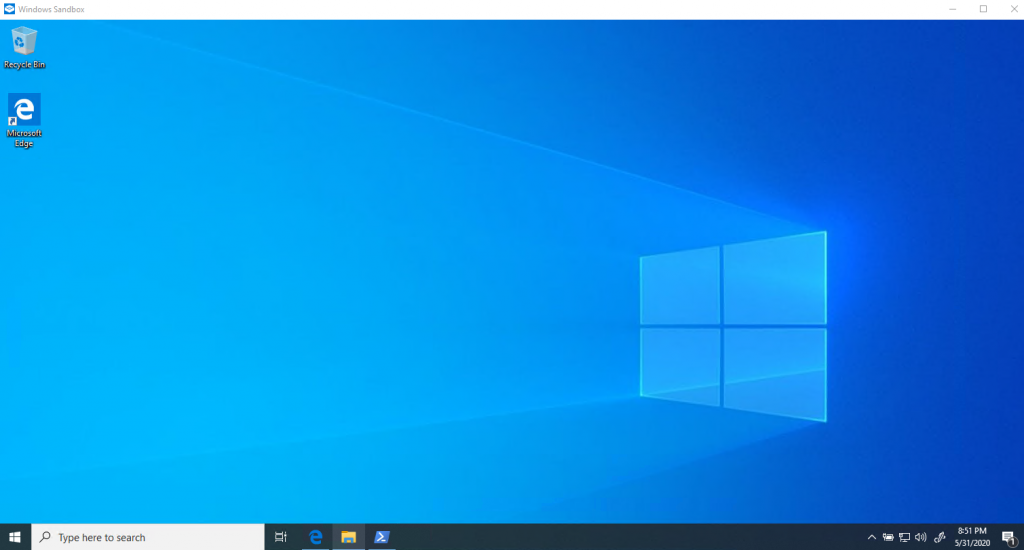
Now you have an isolated sandbox.
You can do what ever you want in this environment. Once you exit the application, it will be completely reset. If the application is infected by malware, the host system will not be effected.
Cool Trick : If you have a suspect file on your host, you can test it before running it. Copy and paste the file into Windows Sandbox and run it there without worrying about it corrupting your host computer.
Preparing to throw some malware at it!
For our malware toolkit, we will use theZoo. It’s a live malware repository with a collection of known malware for analysis. It comes as a python program for a safe way to handle live code.
For this demonstration we will need to install a few dependencies first to start researching.
Open Powershell as administrator. We need to install Python 2.7.18. Fetch it with Invoke-WebRequest, install the msi and set the python environment variable.
You will need to re-open Powershell to use the variable.
cd .\Desktop
Invoke-WebRequest -uri https://www.python.org/ftp/python/2.7.18/python-2.7.18.msi -OutFile python-2.7.18
msiexec /a python-2.7.18.msi /qb TARGETDIR=C:\python27
theZoo depends on the python package, PyMiniZip. To install it we will use Pip, the python package manager but we will install it later.
Invoke-WebRequest -uri https://bootstrap.pypa.io/get-pip.py -OutFile get-pip.py
python .\get-pip.py
PyminiZip requires Microsoft Visual C++ Compiler For Python 2.7 to compile. Download the compiler from the following link.
https://www.microsoft.com/en-us/download/details.aspx?id=44266We will need to install Chocolately to install Git easily. If you want to learn more about Chocolately, read the article explaining how to install and use, here.
Run the following command and re-open Powershell as administrator.
Set-ExecutionPolicy Bypass -Scope Process -Force; [System.Net.ServicePointManager]::SecurityProtocol = [System.Net.ServicePointManager]::SecurityProtocol -bor 3072; iex ((New-Object System.Net.WebClient).DownloadString('https://chocolatey.org/install.ps1'))From Chocolately, we install Git to download theZoo repostitory on Github.
choco install git Re-open Powershell as administrator to install theZoo.
Installing theZoo
Now that we have all the tooling we need we can go ahead and install theZoo to start researching malware.
Clone the repository from Git. This will take a bit.
cd Desktop
git clone https://www.github.com/ytisf/theZoo
cd theZoo
Now install the PyMiniZip dependency with PIP.
python -m pip install pyminizipWe can start using theZoo .
Using theZoo to research new malware
To use theZoo, type the following command in theZoo’s directory.
python theZoo.pyTo update the repository with the following command.
python .\theZoo.py -uNow you can start opening up the follow directory of live malware.
\theZoo\malwares\BinariesTo test a package, search for the folder and unzip the file.
All packages are password protected. The password is “infected“.
For this demo, we will execute the WannaCry ransomware.
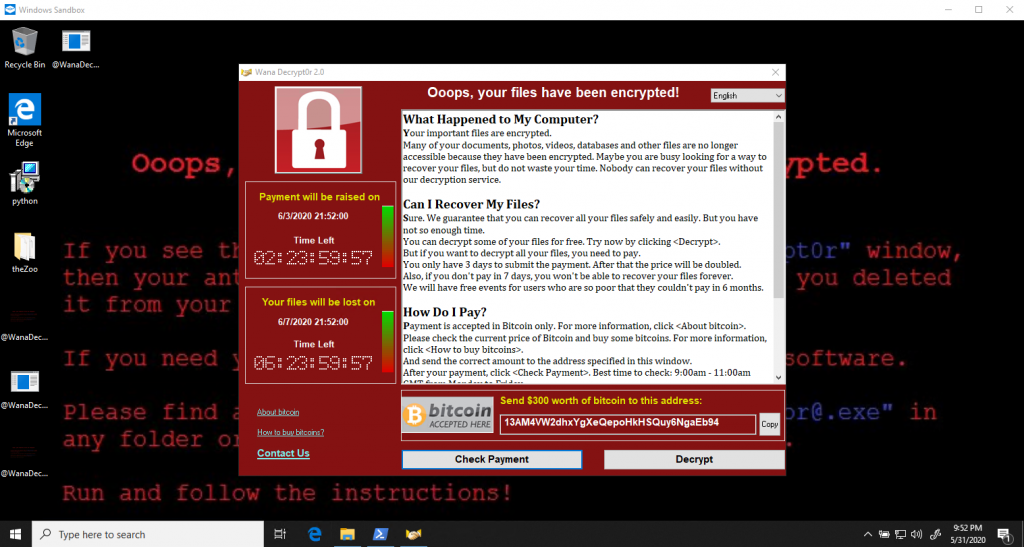
\theZoo\malwares\Binaries\Ransomware.WannaCry\Ransomware.WannaCry.zipWe have been infected!

Close down the app and restart.

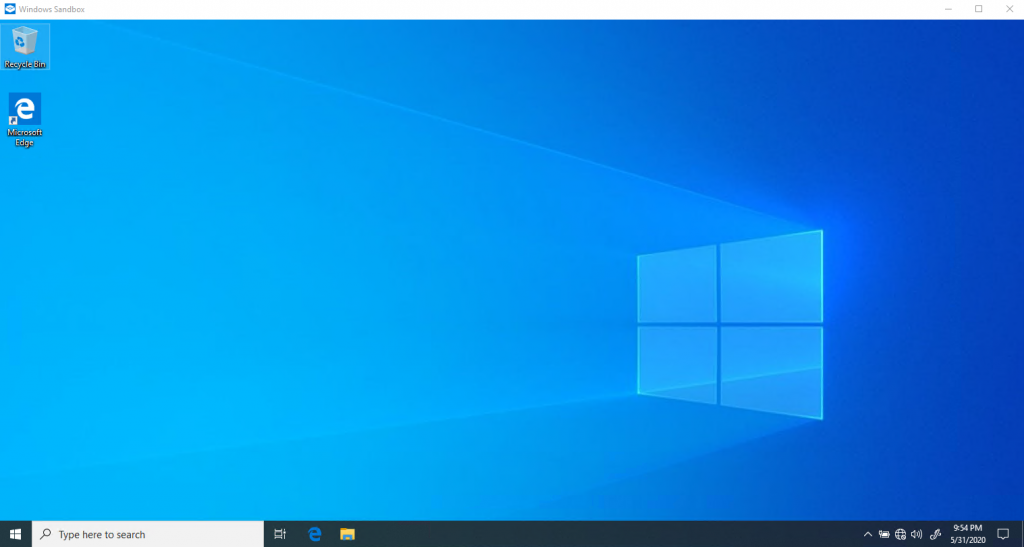
Back to normal with a clean testing slate.
Windows Sandbox is a great lightweight solution for testing programs and applications without the worry that your host computer will get corrupted in the process. In this demonstration, if the same procedure was performed outside the sandbox, I wouldn’t have been able to finish this article and off to get some Bitcoin. We would have been one of the countless victims of the WannaCry ransomware. Instead… we are off to analyze more malware!
Stay tuned for more to come on analyzing malware in detail.
Until then, Happy malware researching!
