We often forget about our trusty routers on our networks but they are always working as a first line of defense against the internet. Without a router/firewall, our networks would be susceptible to anyone being able to peer into our private networks without us knowing. In a worst case scenario, the service provider provides the router upon install and it’s firmware never gets updated again.
A new threats emerge, it is important to know if our router is vulnerable to attack as it faces the internet acting as our buffer. It is always best practice to keep our device’s firmware up to date but can we do more? With Routersploit, we can also check our router to see if it is vulnerable to the latest exploit by testing it ourselves.
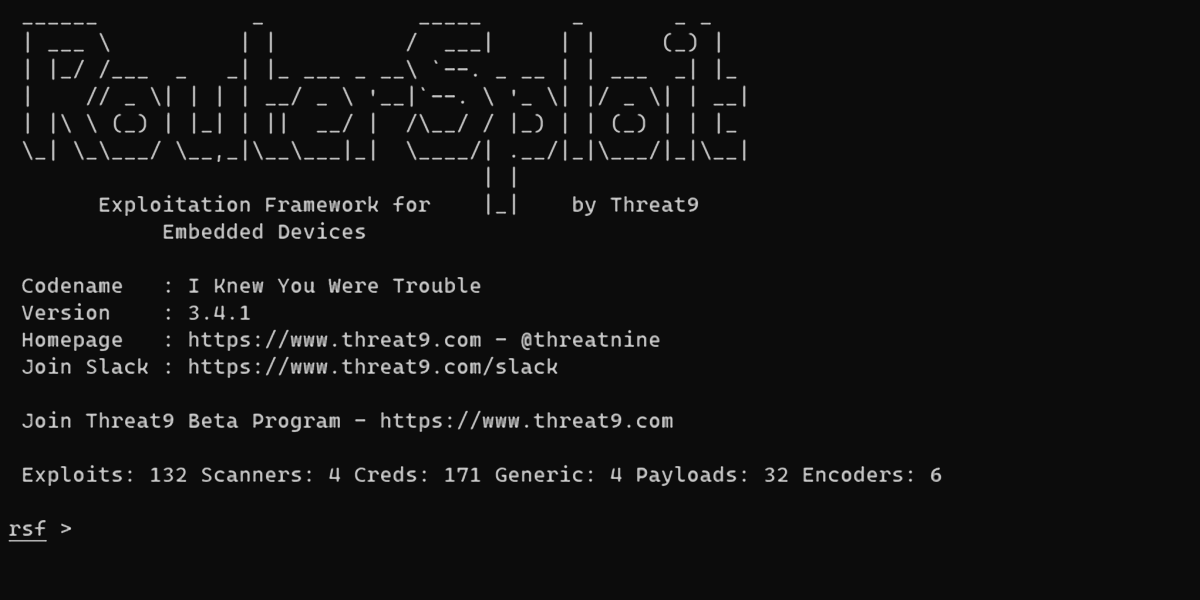
RouterSploit Framework is an Python based open-source exploitation framework dedicated to embedded devices created by Threat9. It is made up of several types of modules. The exploit modules leverage known vulnerabilities. Cred modules are used for network credential attacks. RouterSploit boasts of over 131 scanners modules for checking if an exploit is available on the target device. The Payloads module generates payloads for injection points. And the Generic modules are for performing generic attacks.
Continue to learn how to install and use this program Kali Linux on WSL2.
To learn more about installing Kali Linux on Windows 10, please check out my article on how to install it, here.
Installing RouterSploit
Opening up a new Kali Linux terminal. Press WindowsKey + R, and enter “kali”. Hit “OK”.

Now you should have a new terminal in Kali Linux open. The RouterSploit package in the Kali Linux repostory is outdated and broken. Instead, we will install from source from Github.
Enter the following commands to install, RouterSploit.
apt-get install python3-pip
git clone https://www.github.com/threat9/routersploit
cd routersploit
python3 -m pip install -r requirements.txt
python3 rsf.py
If you want to support Bluetooth low energy.
apt-get install libglib2.0-dev
python3 -m pip install bluepy
python3 rsf.py
Performing an assessment
Now that the application has started, we will execute the following commands at the rsf prompt.
We want to test for all the vulnerabilities in the framework. To accomplish this we can use the autopwn scanner. Here is how we set the scanner.
rsf > use scanners/autopwnNext we need to set the target router on the network.
In most cases the traditional IP addresses for a router is 10.0.0.1, 192.168. 1.1, or 192.168. 0.1, but you retrieve your router IP address with the following command
ip route | grep .defaultNow that we have our router IP address, we can set it it.
rsf (AutoPwn) > set target 192.168.1.1You should get a confirmation once set.

Time to find exploits, if any. Simply run and RouterSploit will start reconnaissance on the router.
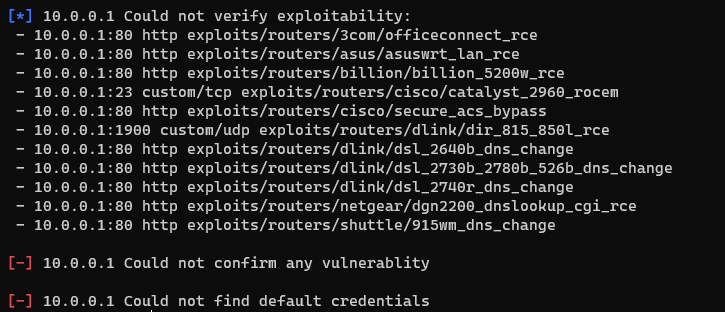
rsf (AutoPwn) > runRouterSploit prints out any known attack vectors for your router once it has performed its assessment. Keep in mind that some exploits will not be able to be confirmed. If your router is secure, you will get the following results.

Conclusion
This tool is for everyone. The network penetration tester on an assessment. A system administrator that wants to make sure their network routers are secure. And even an individual that maintains their own small private network. The ability to check a large amount of vulnerabilities against your router in a short amount of time is paramount to maintaining a healthy network. If you believe your router may be vulnerable, try RouterSploit today.

Comments are closed, but trackbacks and pingbacks are open.